

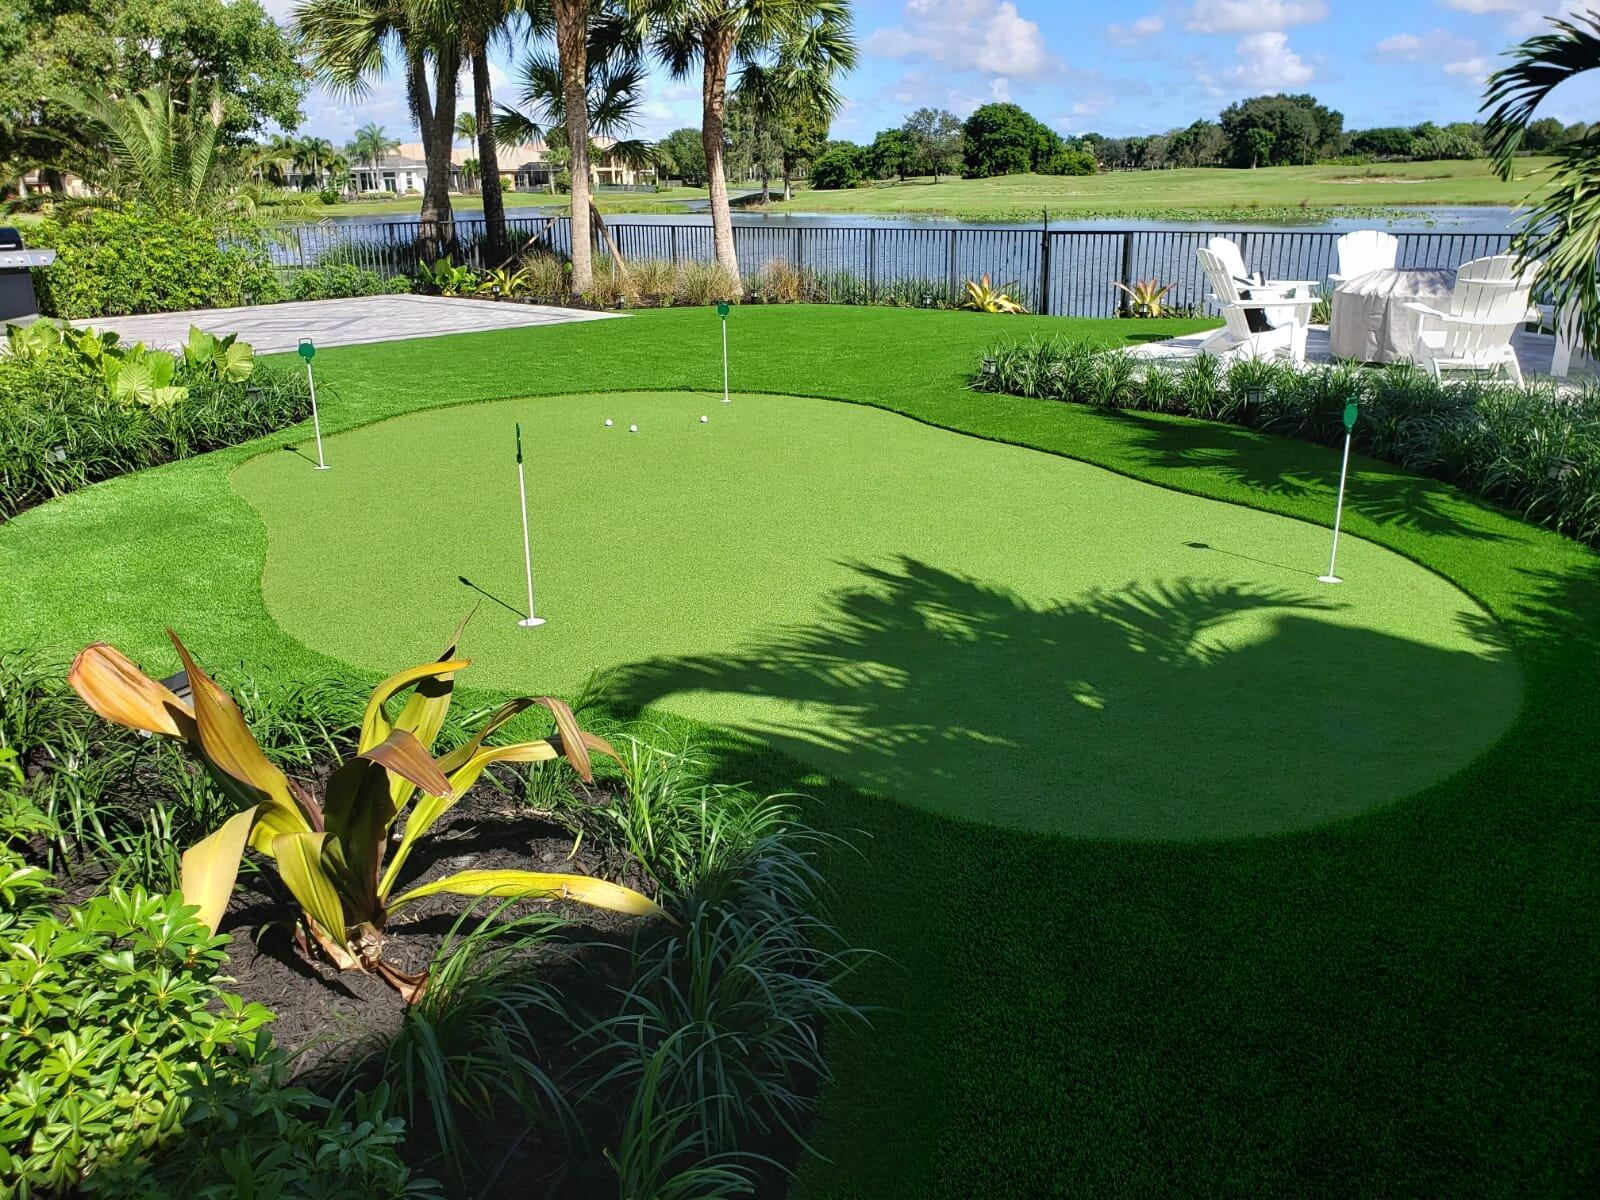
For golf enthusiasts, having a putting green in the backyard is not just a luxury; it’s a way to bring the love of the game right to their doorstep. Designing a backyard putting green involves more than just laying down some turf; it requires careful planning, selection of the right materials, and proper maintenance. In this blog post, we will explore the steps to create a functional and aesthetically pleasing putting green that can help you improve your game and add value to your home.
Benefits of a Backyard Putting Green
Practice Made Easy: With a putting green at home, you can practice your short game anytime, which is convenient for improving your skills regularly without the need to travel to a golf course.
Entertainment Value: A putting green is a great feature for entertaining guests, offering a fun and interactive experience that everyone can enjoy, regardless of their golfing skills.
Aesthetic Appeal: Besides being functional, a well-maintained putting green enhances the beauty of your landscape and can increase the overall property value.
Planning Your Putting Green
Location: Choose a location in your yard that is relatively flat and receives a good amount of natural light. Avoid areas under heavy shade or where water tends to collect.
Size and Design: The size of the putting green will largely depend on the available space and your budget. When designing the layout, consider adding contours and multiple holes to make it more challenging and enjoyable.
Type of Grass: The most common types of grass used for putting greens are bentgrass and Bermuda grass, known for their ability to withstand low mowing and maintain a smooth surface. Alternatively, synthetic turf can be a practical choice for its low maintenance and year-round green appearance.
Installation Process
Soil Preparation: Start by removing any existing sod and weeds from the chosen area. Level the ground and add a layer of gravel for drainage, followed by a layer of sand to help contour the green.
Turf Installation: Whether you choose natural grass or synthetic, proper installation is crucial. For natural grass, sod is the preferred method as it establishes quickly. For synthetic turf, ensure the base is compact and smooth before laying the turf to prevent wrinkles or shifting.
Adding Features: Incorporate slopes and undulations to make the green more challenging. You can also install hole cups at various points to practice different shots.
Maintenance Tips
For Natural Grass:
- Mowing: Putting green grass needs to be cut very short, usually not more than 1/4 inch high, and requires frequent mowing with a specialized reel mower.
- Watering: Keep the soil consistently moist but not waterlogged. Using an automatic sprinkler system can help maintain the right moisture levels.
- Fertilizing and Aeration: Regular feeding and aeration help keep the grass healthy and the soil in good condition.
For Synthetic Turf:
- Cleaning: Regularly clean the surface to remove dirt and debris. Rinsing with water can help maintain its appearance.
- Brushing: Use a stiff brush to keep the fibers upright and even, which helps simulate the feel of natural grass.
Conclusion
Building a backyard putting green is an exciting project that can turn your love for golf into a permanent part of your home. Whether you opt for the lushness of natural grass or the ease of synthetic turf, the key to success lies in careful planning, quality materials, and regular maintenance. With the right approach, your backyard putting green will provide endless hours of enjoyment and practice, improving your golf game right from the comfort of your own home.
