

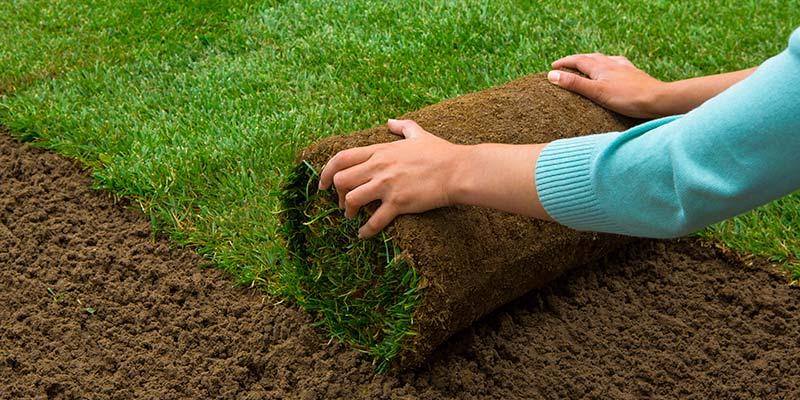
For homeowners looking to transform their lawns quickly and effectively, sod installation offers a near-instant solution. Unlike seeding, which can take weeks to establish and years to mature, sodding allows you to enjoy a fully green lawn almost immediately after installation. In this blog post, we’ll guide you through the steps of sod installation, highlight its benefits, and offer tips to ensure your new lawn thrives.
Benefits of Sod Installation
Instant Lawn: The most apparent advantage of sod is its immediacy. Within hours, bare soil turns into a lush, green lawn, enhancing your property’s curb appeal and usability.
Erosion Control: Sod acts as a natural barrier against soil erosion. Once installed, it stabilizes loose soil immediately, making it an excellent choice for sloped areas and regions prone to erosion.
Weed Resistance: Because sod is a mature product, it offers less opportunity for weeds to establish, assuming it’s installed and maintained correctly.
Water Efficiency: Although sod requires significant initial watering, it typically becomes more drought-resistant faster than seeded lawns due to its mature root system.
Preparing for Sod Installation
Soil Preparation: Proper ground preparation is crucial for sod success. Begin by clearing the area of rocks, debris, and existing grass. Next, loosen the top six to eight inches of soil with a rototiller. Soil amendments like compost or fertilizer should be mixed in at this stage to improve soil health.
Leveling and Grading: After tilling, rake the soil to remove clumps and smooth the surface. This step is essential for drainage and aesthetic purposes. The ground should slope gently away from any buildings to prevent water pooling.
Soil Compaction: Lightly compact the soil with a lawn roller to eliminate air pockets and provide a solid base for the sod. Avoid over-compacting, which can prevent root growth.
Installing the Sod
Timing: Sod should be laid as soon as possible after delivery, ideally within 24 hours. Delaying installation can lead to drying and potential dieback.
Laying the Sod: Begin at a straight edge, such as a driveway or sidewalk. Lay the sod strips tightly against each other to avoid gaps or overlaps, which can lead to uneven growth and drying edges. Stagger the joints in a brick-like pattern for stability and aesthetic appeal.
Trimming: Use a sharp knife or sod cutter to trim pieces around obstacles like trees, corners, and borders. Proper contact between the sod and soil is crucial, so press down or lightly roll the sod once it’s in place.
Post-Installation Care
Watering: Initial watering is critical. Begin watering immediately after installation to encourage root establishment. Keep the sod and underlying soil moist, not soggy, for the first few weeks.
Mowing: Wait until the sod has rooted before the first mow. This usually takes about two weeks. Be sure to use a sharp blade and don’t remove more than one-third of the grass height at a mowing.
Ongoing Maintenance: After the sod has established, treat it like a mature lawn with regular mowing, watering, and fertilization based on the grass type and local climate conditions.
Conclusion
Sod installation is an excellent way for homeowners to achieve a beautiful lawn quickly and efficiently. By following these steps and providing proper care, your sod will establish a durable, lush green carpet that enhances your home’s outdoor space. Whether you’re starting a new lawn or renovating an existing one, sod offers a viable and attractive solution that provides immediate satisfaction and long-term benefits.
